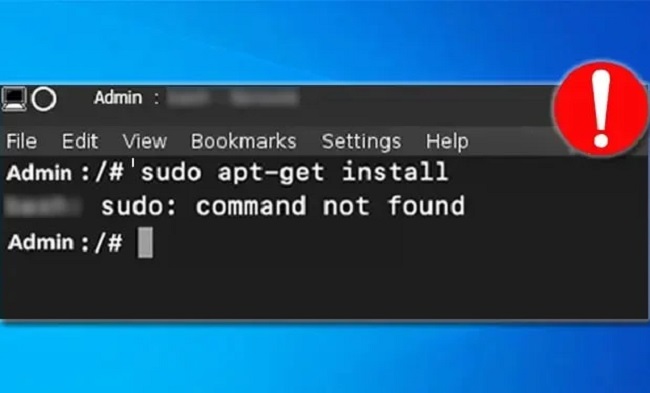
The ‘sudo apt-get command not found’ error can be a perplexing issue for Mac users, especially for those accustomed to using package managers like apt-get on Linux systems.
This error indicates that the ‘apt-get’ command is not recognized on macOS, causing inconvenience when attempting to install packages or manage software.
In this article, we will explore the causes behind this error and provide detailed solutions to help you fix it step-by-step.

What is Error Sudo Apt-Get Command Not Found
The ‘apt-get’ command is specific to Debian-based Linux distributions and is not natively available on macOS. As a result, attempting to use ‘apt-get’ on a Mac system will trigger the ‘sudo apt-get command not found’ error.
Understanding the causes and exploring appropriate solutions is essential for resolving this issue and managing software efficiently on macOS.
Causes of the Error Sudo Apt-Get Command Not Found
Different Package Managers: macOS employs its own package manager called ‘Homebrew,’ which serves as an alternative to ‘apt-get’ on Linux systems. This discrepancy in package managers leads to the error when executing ‘apt-get’ commands on macOS.
Incompatible Shell Configuration: The error can occur if the shell environment on your Mac is not properly configured to recognize the ‘apt-get’ command.
Mismatched System Requirements: Some software or packages may have specific system requirements that conflict with macOS, leading to the ‘apt-get’ command not being recognized.
Solutions to Fix Error Sudo Apt-Get Command Not Found
Follow these step-by-step solutions to resolve the ‘sudo apt-get command not found’ error on your Mac and regain the ability to manage software effectively:
Solution 1: Install Homebrew
Step 1: Homebrew is a popular package manager for macOS. Install it by opening the Terminal and executing the following command: /bin/bash -c "$(curl -fsSL https://raw.githubusercontent.com/Homebrew/install/HEAD/install.sh)"
Step 2: Follow the on-screen prompts to complete the installation process.
Solution 2: Update Shell Configuration
Step 1: Modify your shell configuration file (e.g., ‘.bashrc’ or ‘.zshrc’) using a text editor such as nano or vim.
Step 2: Add the following line at the end of the file to export Homebrew’s executable path: export PATH="/usr/local/bin:$PATH"
Step 3: Save the changes and exit the text editor.
Step 4: Restart your Terminal or run source ~/.bashrc (or the appropriate filename) to apply the configuration.
Solution 3: Verify Homebrew Installation
Step 1: Open a new Terminal window and execute the following command: brew doctor
Step 2: This command checks the Homebrew installation and verifies its integrity.
Step 3: Follow any suggested actions to resolve any reported issues.
Solution 4: Use Homebrew Instead
Step 1: Instead of using ‘apt-get’ commands, utilize Homebrew to install, update, or manage software on your Mac.
Step 2: For example, to install a package, use the following command: brew install package_name
Conclusion
Resolving the ‘sudo apt-get command not found’ error on your Mac is crucial to efficiently manage software and packages.
By following the step-by-step solutions outlined in this guide, you can overcome this error and leverage Homebrew, the native package manager for macOS.
Enjoy streamlined software management on your Mac once again. Hopw now you know how to fix the error on your device.


